2.4GHz patch antenna for fpv-flying
With the instructions and the plan from the guys at RC-Cam.com (thanks a bunch) it is very easy to build a goof proof patch antenna.
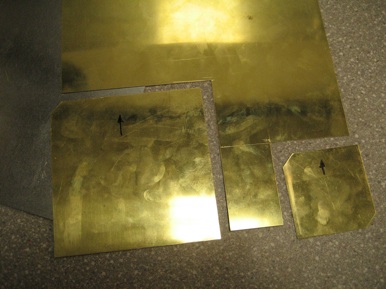
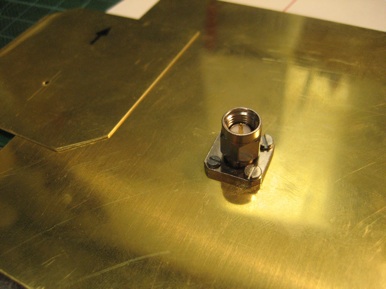
I bought some SMA connectors and 0.3mm sheet brass. Both were very fairly expensive (8 CHF for one connector and 15 CHF for the brass) and I know I could have gotten them for less, but I was in a hurry and the DIY-antenna will still be cheaper than a commercially available one. And the homebrew version is said to perform even better. I also bought 0.5mm sheet of zinc coated steel to build a second patch and compare the two. The lack of proper cutting tools however let me to finish just the brass version. I know this is not the best method but I scored the brass with an exacto knife and kept running the blade through the grooves until the pieces separated.
I could not get my printer to print the plan to the right scale and so I had to calculate its scale and measure and convert all dimensions. This was more a nuisance than an obstacle and I got most of it within half a millimeter of its required size.
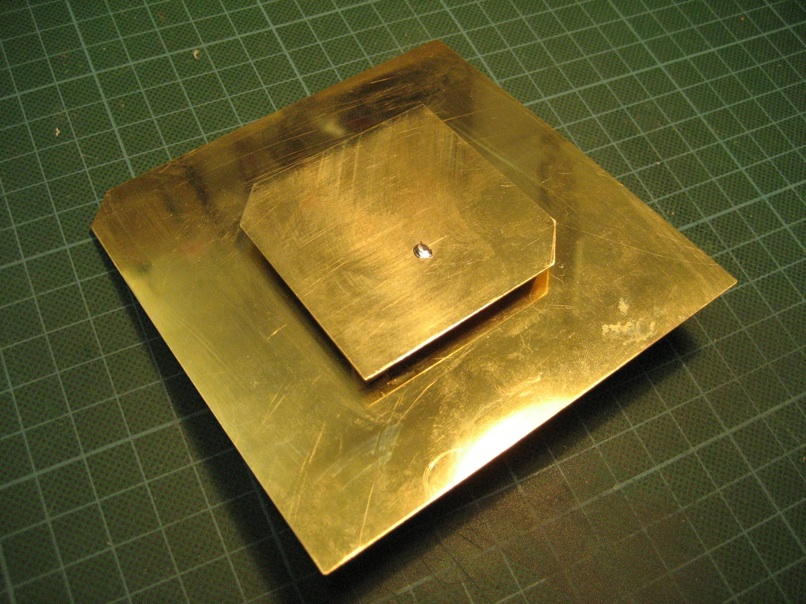
I have not yet had the chance to try out my new beautiful shiny antenna but will do so as soon as I get the chance. With the Oracle diversity video controller I will be able to tell wether or not the patch antenna works better than the standard whip antenna. The controller indicates the active receiver with two green LEDs. This way I will be able to tell which of the two antennas gets better reception and I am guessing it will be the patch.
3.5.2009
Today I had the chance to try the new patch antenna. Well, it works. It did not perform as good as I had expected but I will try again. I will give it a couple more shots before I buy a professionally built one.
7.6.2009
What the heck I thought and bought a patch from RangeVideo. It is still awaiting trial though. When I find the nerve to try the diy-version again I will.